

Business
We run a small Internet business from home, called The School Amateur Radio Club Network. You can visit our website at www.sarcnet.org. We sell educational STEM kits and products all inspired by the projects and the work we do with schools. We have sometimes set up trading tables at The Melbourne Train and Hobby Show and at local Amateur Radio Hamfests. This page is really all about the fun we are having running our hobby business at home.
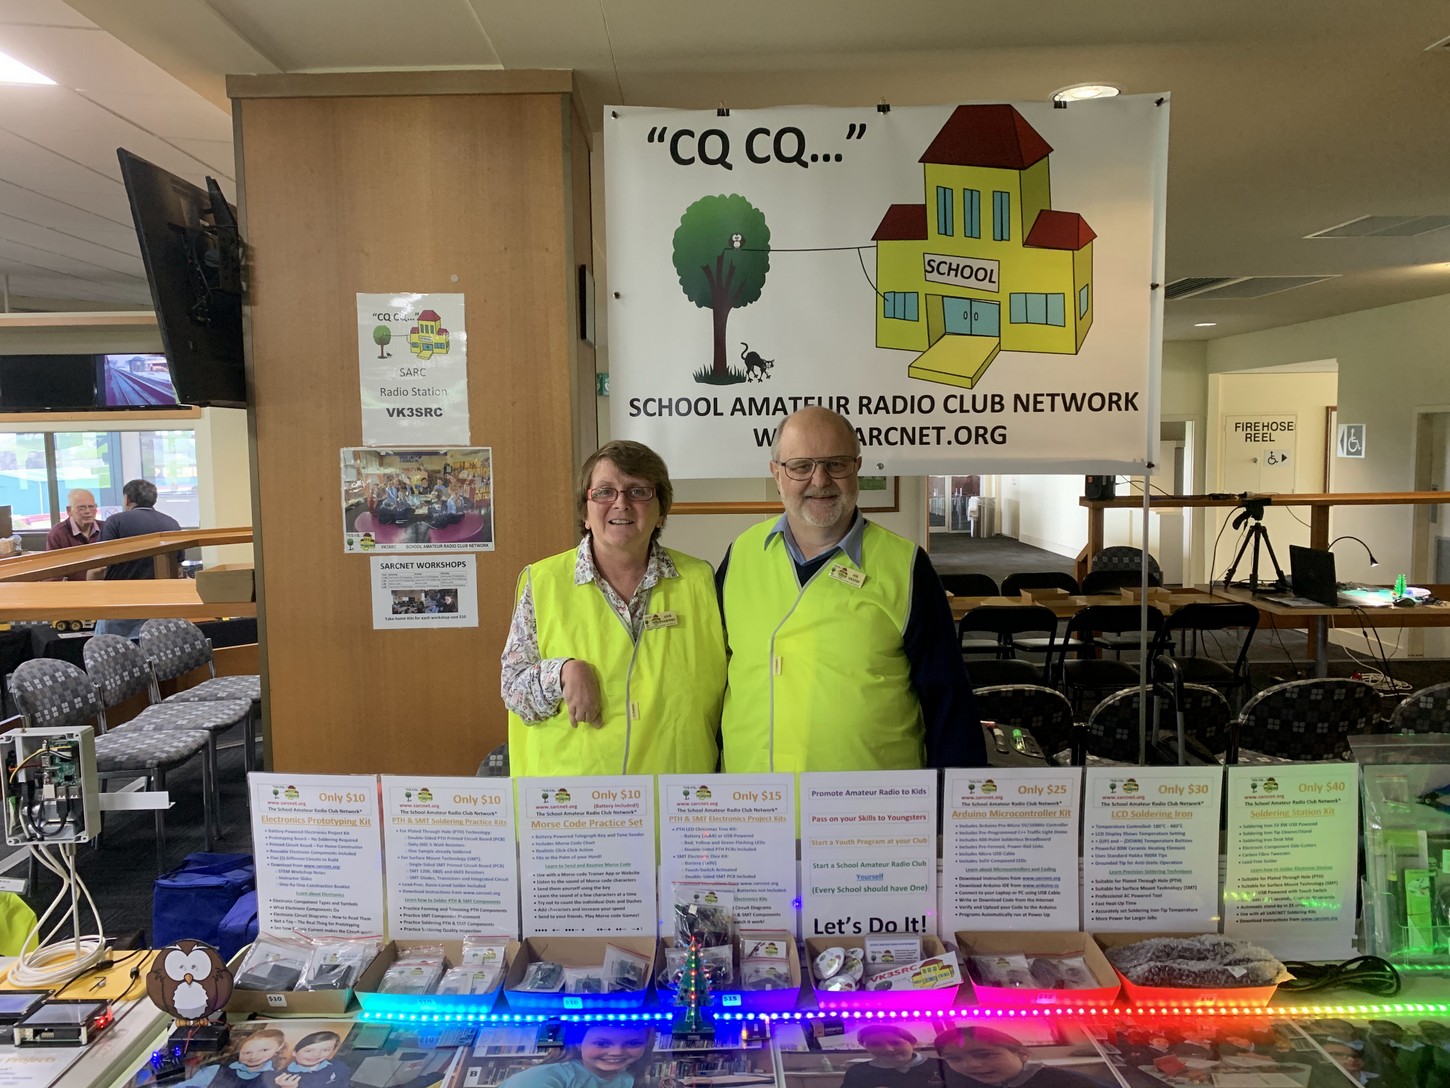
Julie and Joe at The Melbourne Train and Hobby Show
SARCTRAC
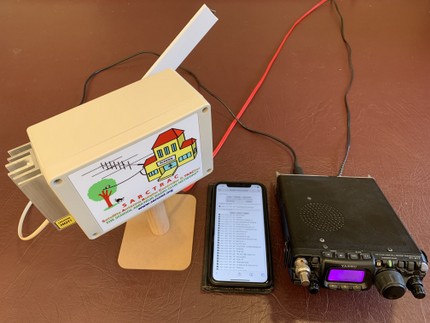
We manufacture and sell a small, portable Satellite Antenna Rotator Controller and TRACker called SARCTRAC.
It is used to point a small antenna at any one of thousands of orbiting satellites, including the International Space Station. By connecting the antenna to a radio you can receive and sometimes transmit signals to the orbiting platform.
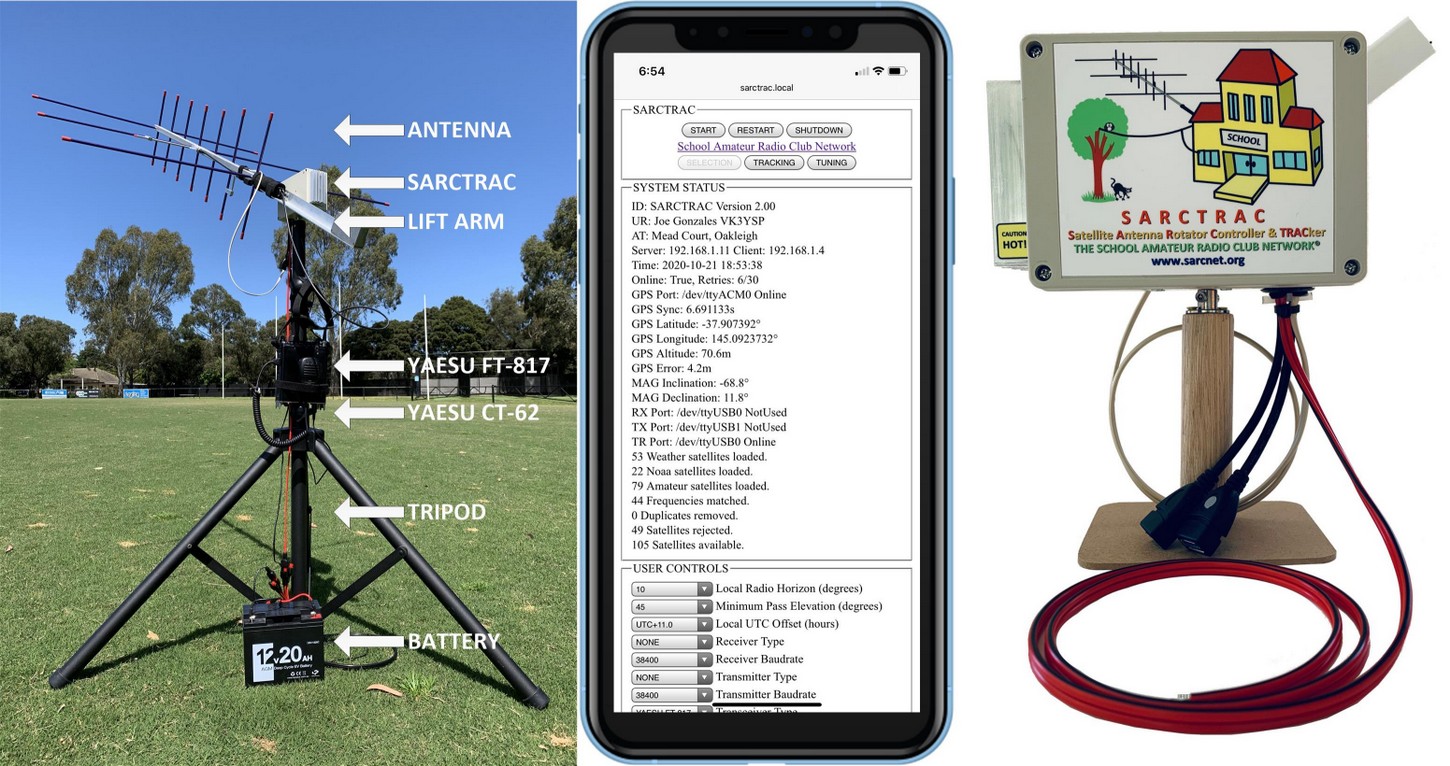
SARCTRAC Mk2 - Portable Setup, Satellite Selection Page, Demonstration Setup
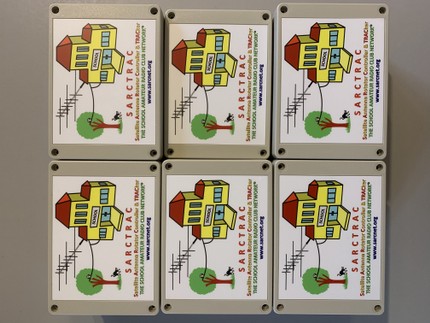
SARCTRAC Production
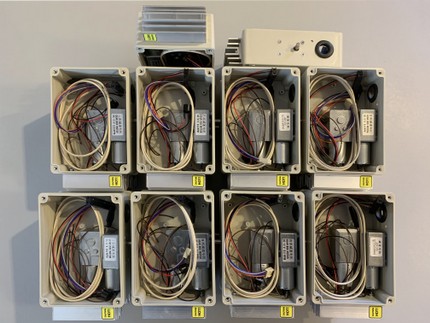
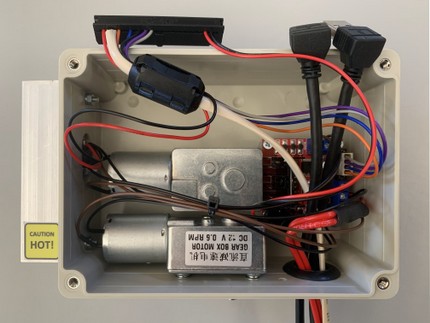
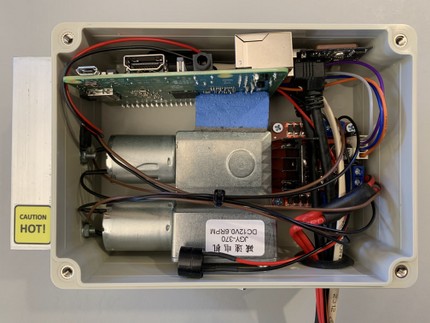
Here are some pictures of our home production process for SARCTRAC.

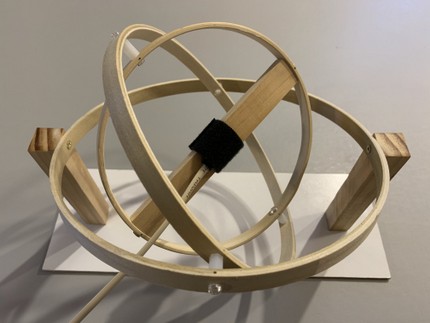
SARCTAC Assembly

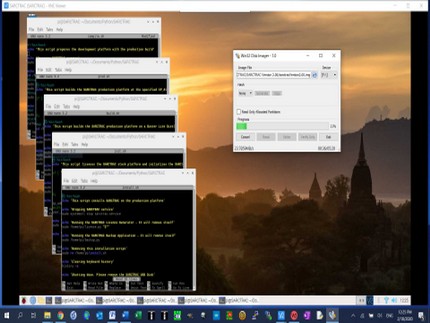
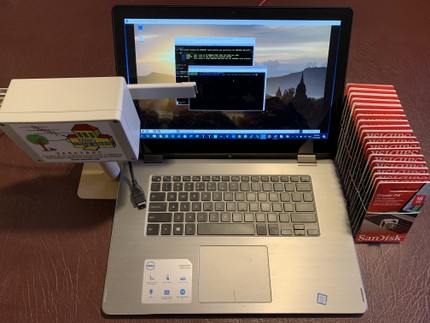
SARCNET Development and SARCTRAC Coding
1. Assembling the cover
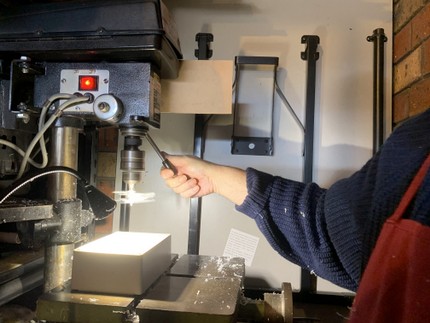
2. Machining the enclosure
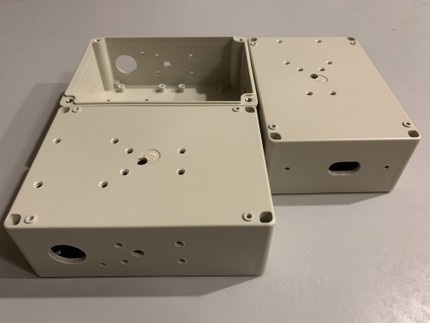
3. Counter-sinking and deburring the enclosure
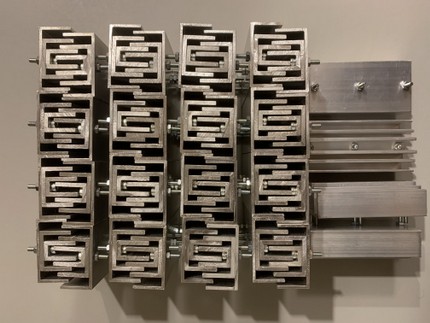
4. Machining the aluminium, finned heatsink
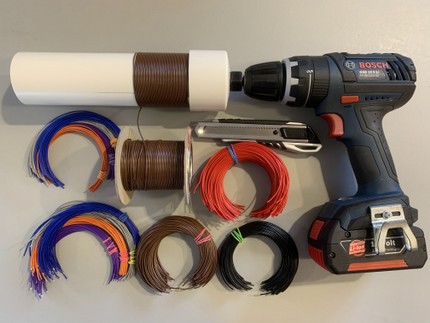
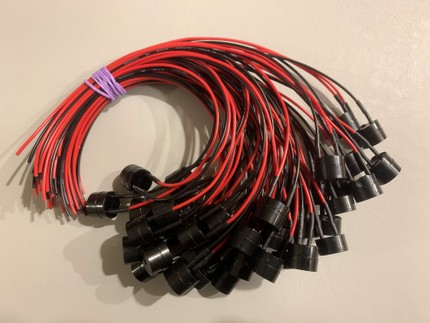
5. Cutting and tinning the hookup wire
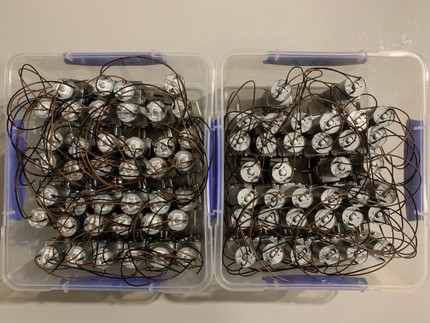
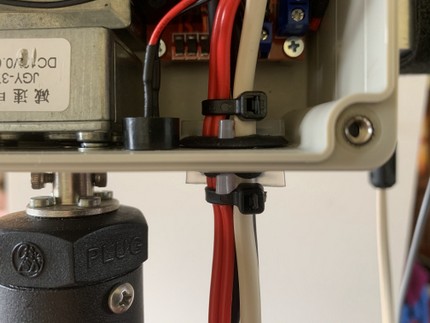
6. Wiring the motor
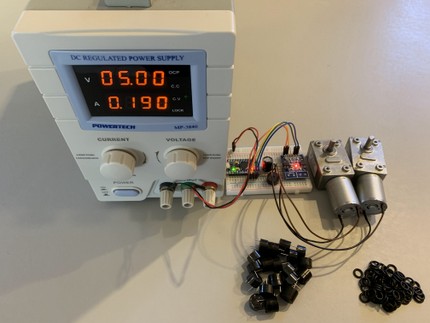
7. Testing the beeper and motor
8. Wiring the beeper

9. Wiring the regulator
10. Wiring the 3D accelerometer/magnetometer
11. Crimping the motor driver cable

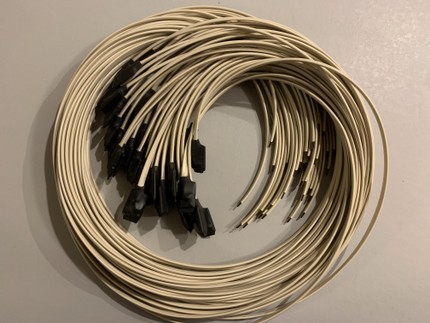
12. Wiring the power cable with integrated schottky diode
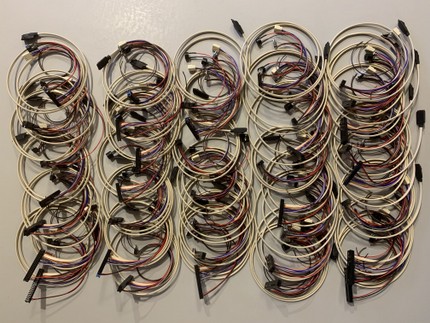
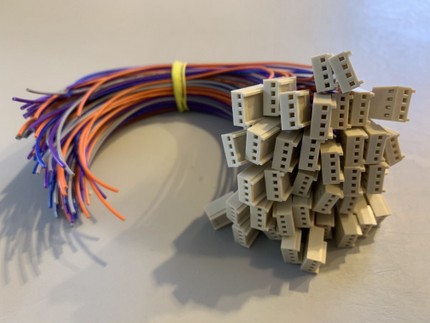
13. Crimping the Raspberry Pi wiring harness
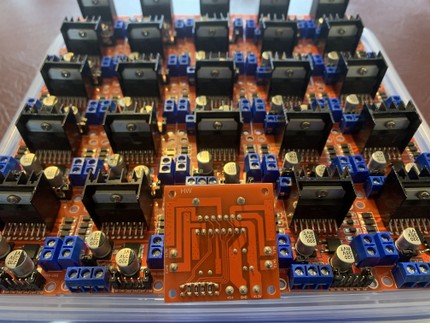
14. Modifying the motor driver
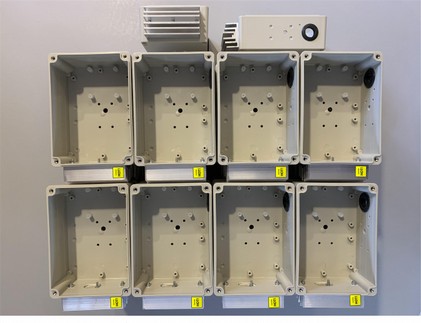
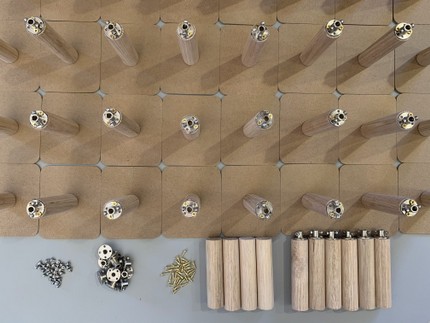
15. Installing the grommet, heatsink, label and standoffs
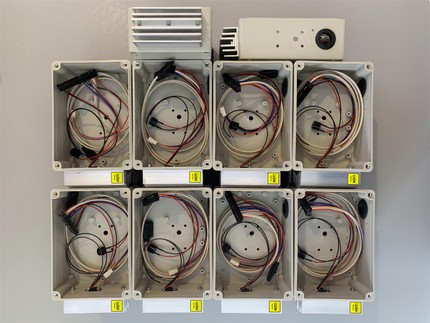
16. Installing the Raspberry Pi wiring harness
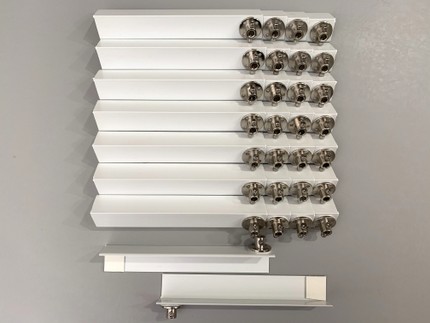
17. Installing the motors
18. Installing the motor driver and power cable
19. Programming the micro SDHC card and USB disk
20. Installing the Raspberry Pi and GPS receiver assembly
21. Installing the beeper and cable assembly
22. Assembling the test stand
23. Assembling the test lift-arm
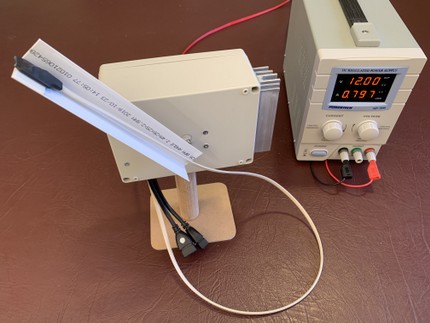
24. Setting to work
25. Calibrating the 3D magnetometer/accelerometer
26. Testing
27. Initializing SARCTRAC and the SARCTRAC USB Disk
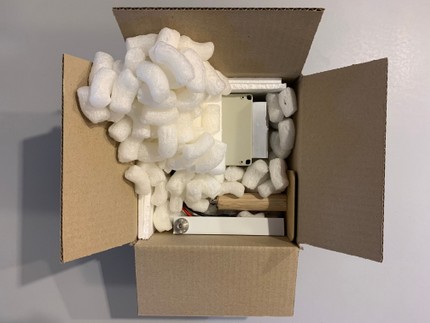
28. Packing and posting
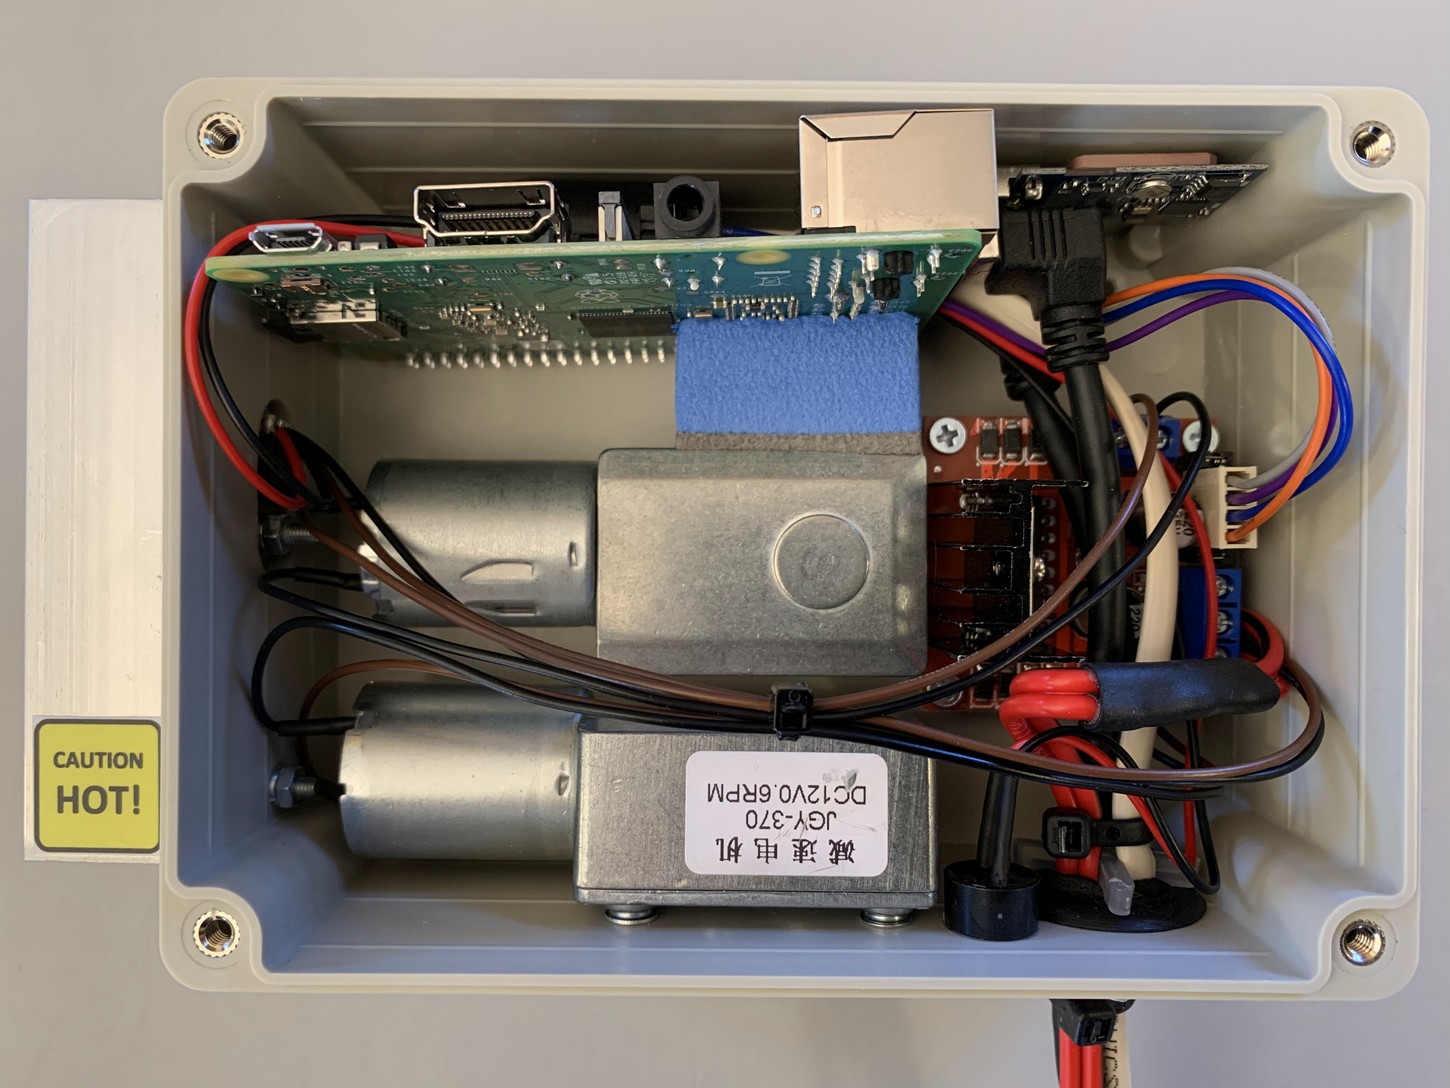
Completed SARCTRAC Assembly

SARCTRAC Calibrating and Testing
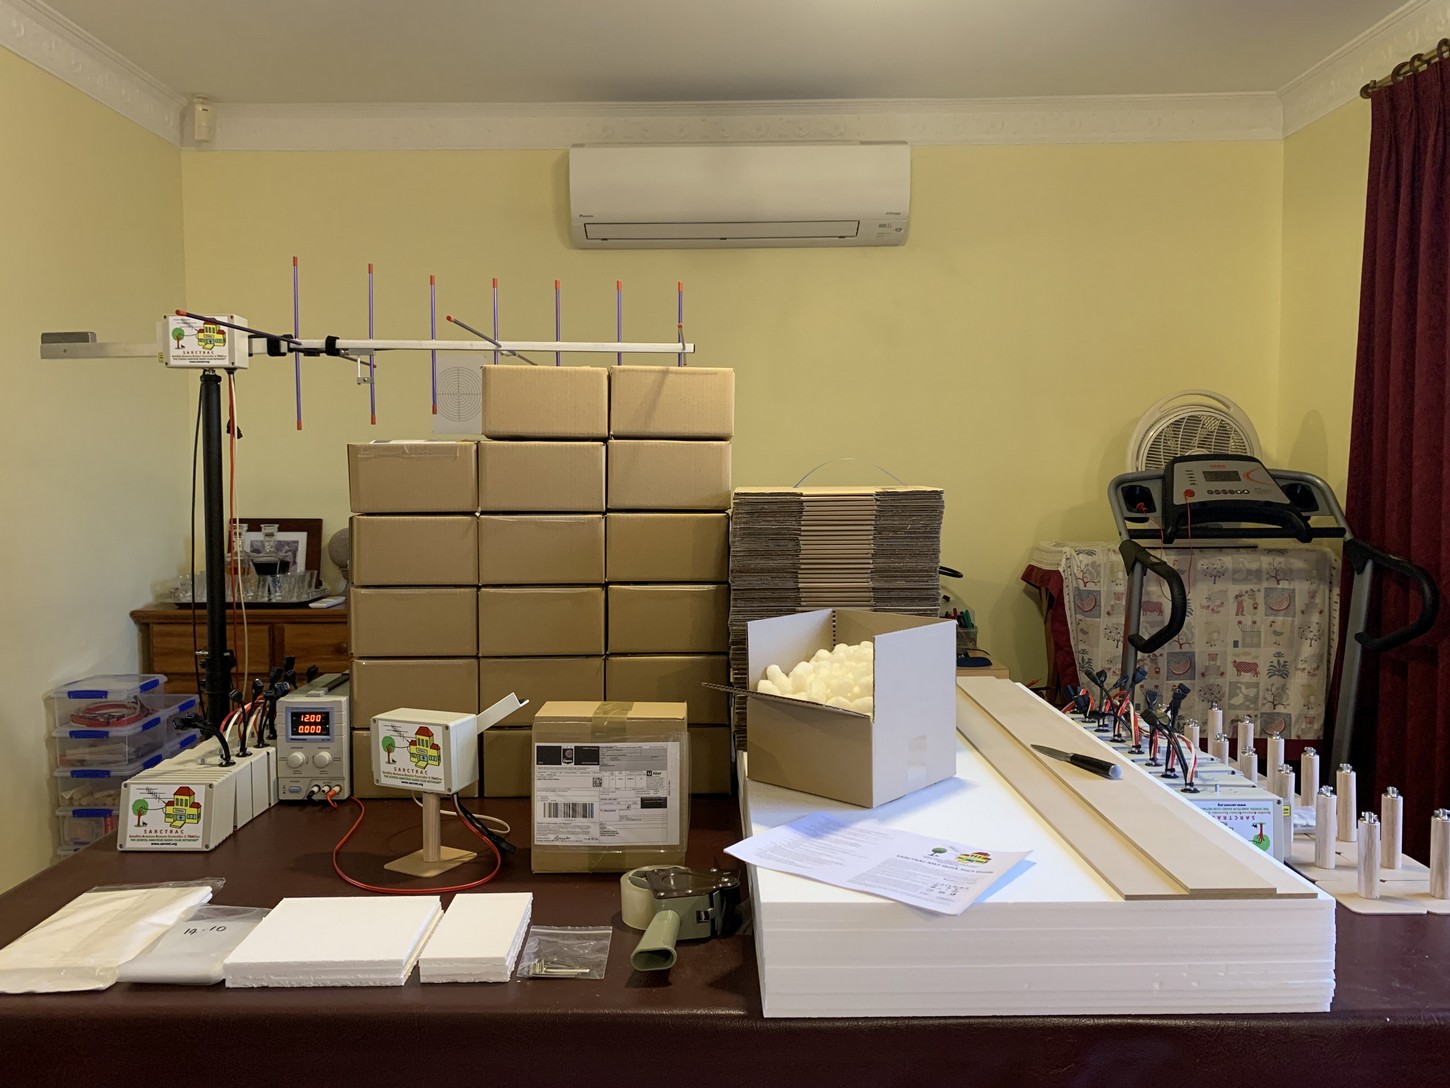
Packaging and Posting